Before the Selfie: Self-Portraits in Art History and Today
Self-Portraits and Art History
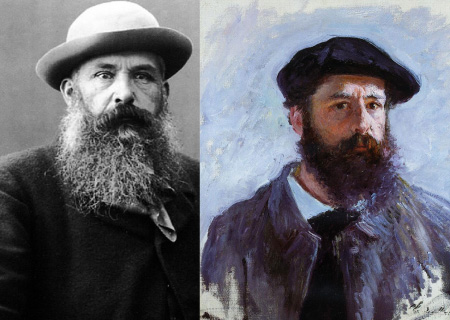
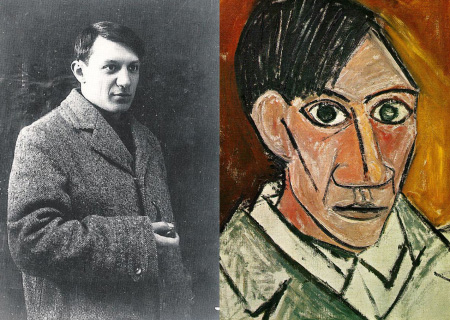
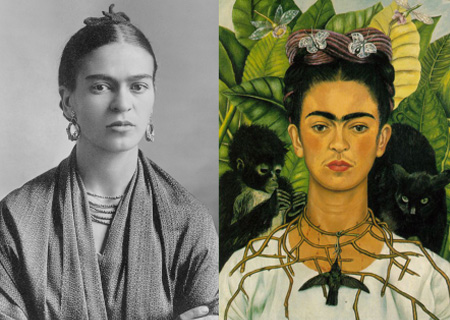
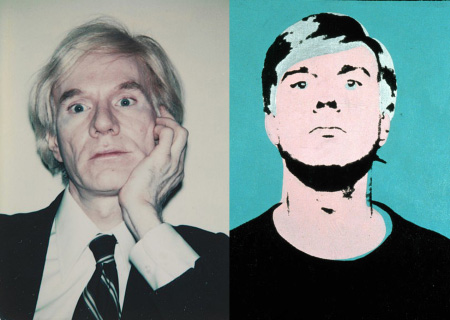
Since early times, artists have been interested in finding a way to represent themselves in their chosen medium. Whether it was paint, pencil, clay, or photography, the desire of artists to find a way to represent themselves has been popular. In the mid-15th century, the artists desire to depict themselves either as the main subject or as an important character in their work grew strong. With the rise of the Renaissance (where wealth and interest in the individual as a subject increased) the art of self-portraiture became highly popular. As art movements changed over time, so have the way artists have represented themselves.
Claude Monet
Impressionism
Pablo Picasso
Cubism
Frida Kahlo
Surrealism
Andy Warhol
Pop Art
Self-Portraits vs. Selfies
With the popularity of social media, we live in a society that has become “selfie-obsessed.” Selfies allow individuals to manipulate an image of themselves as they strive to achieve the perfect rendition of how they want others to see them. For many, these images of self are used as a way to receive validation from their social circles. The big difference between selfies and self-portraits is, in general, we create a self-portrait that reflects how we see ourselves, not how we want others to see us. By studying our reflection, we become more aware of what makes us truly unique and special. Self-portraits allow us to explore the concept of self, and are a personal way for us to express ourselves.
Children and Self-Portraiture
Beginning at a young age, children practice drawing what they see. In many cases, children reflect what they see in their homes (e.g., family members) in their early artwork. Children who are just discovering who they are enjoy creating a representation of themselves on paper. Why is this an important activity for our children? For starters, drawing at a young age helps develop fine motor skills, as well as increases our ability to observe and focus. So when we ask them to create their self-portrait, we are getting a look at (even at a very basic level) their sense of self. Basically, we are able to see them the way that they see themselves. We are looking at our child through their eyes. In addition, drawing ourselves is a key part of learning and childhood development. Here are some important reasons why you should encourage your child to create their self-portrait.
- Drawing a self-portrait forces your child to spend time studying their reflection. We all look different, and differences can be a great thing. By focusing on what makes them unique, children learn what makes them special.
- Children learn basic math skill development such as shape recognition when they create a self-portrait.
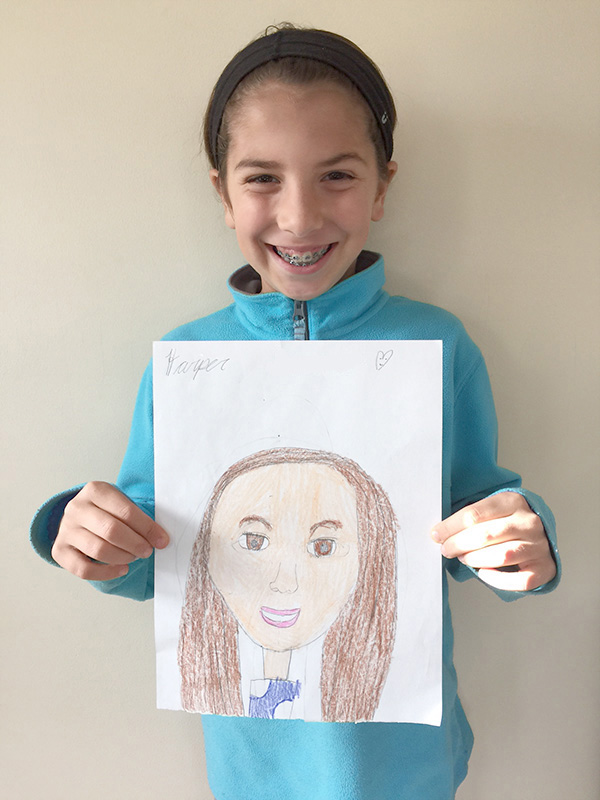
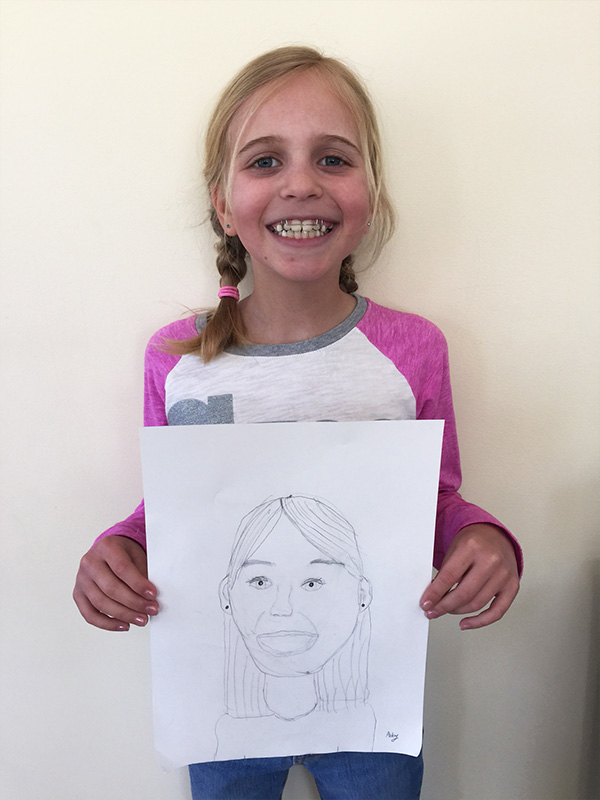
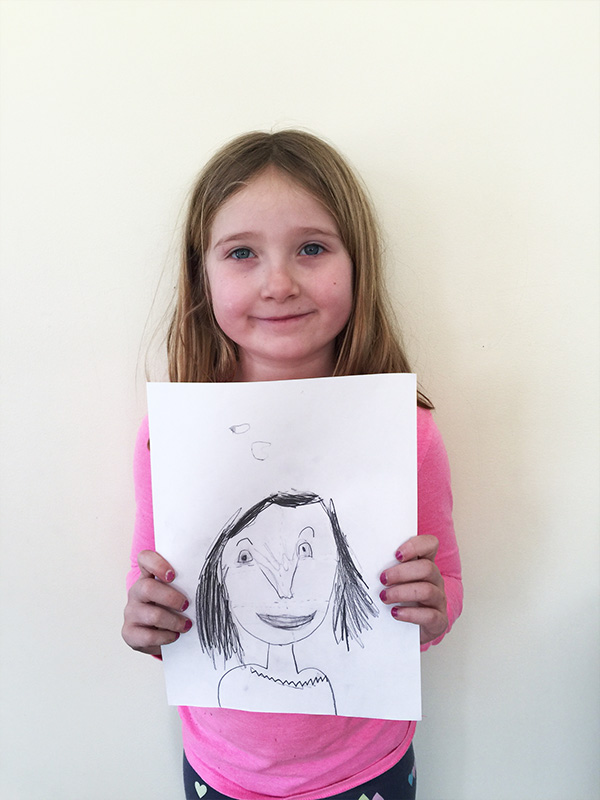
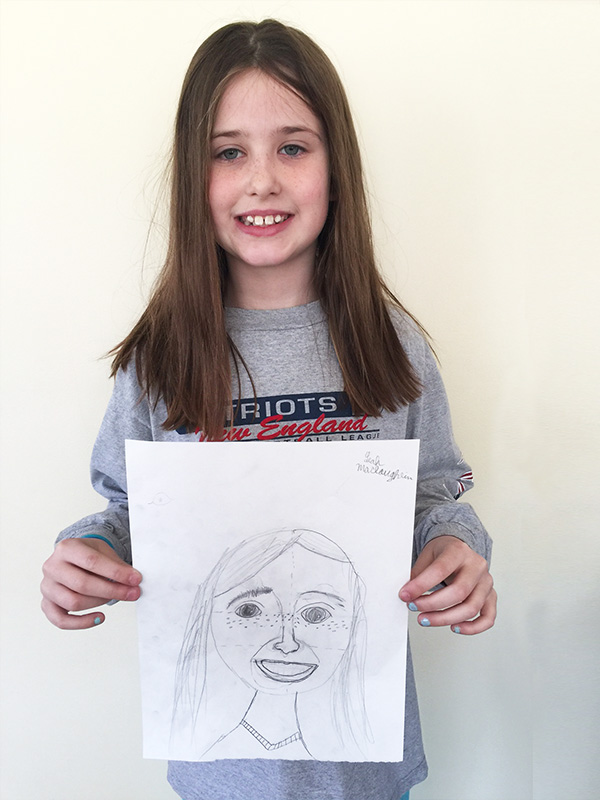
- Children learn to represent themselves in a way that shows us what is important to them. For example, a very happy child may draw themselves with a smile that spreads from ear to ear. A child who likes having a face filled with freckles may exaggerate the beautiful spots on her face. Children will see the beauty in their reflection as they take the time to replicate it on paper.
- Self-portraiture teaches children about differences. Viewing self-portraits made by other children can teach our children to respect the differences in our appearances.
- Children learn from history. Over centuries, many great artists have reflected on their own image and how they see themselves. As your child works on creating their own self-portrait, it’s important to show them samples of some of the great artists of our time, such as Vincent Van Gogh or Pablo Picasso, and how those artists chose to represent themselves in their art.
- Practicing self-portraiture over time can show your child how they are changing. Their faces are getting longer. Their cheeks are becoming less round. Their eyes are becoming sharper.
- Practicing self-portraiture is a way for children to learn to appreciate their own beauty.
Create Your Own Self-Portrait
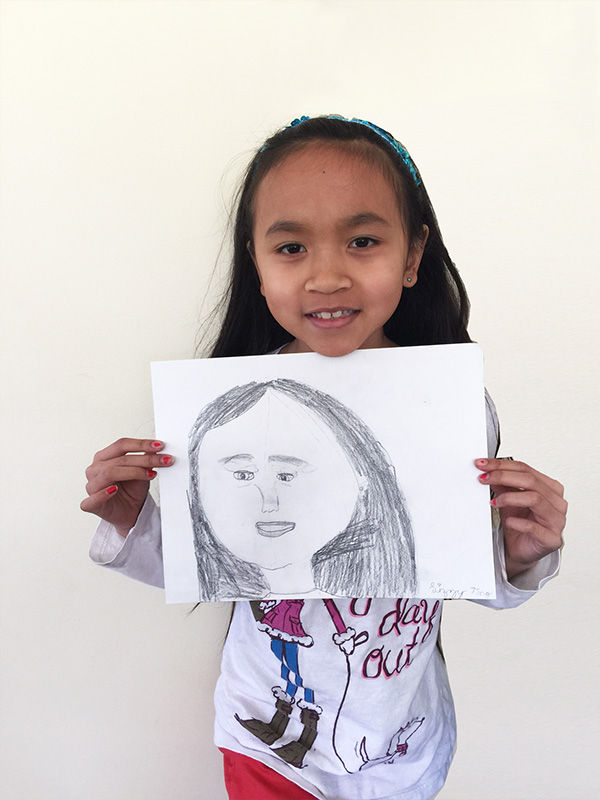
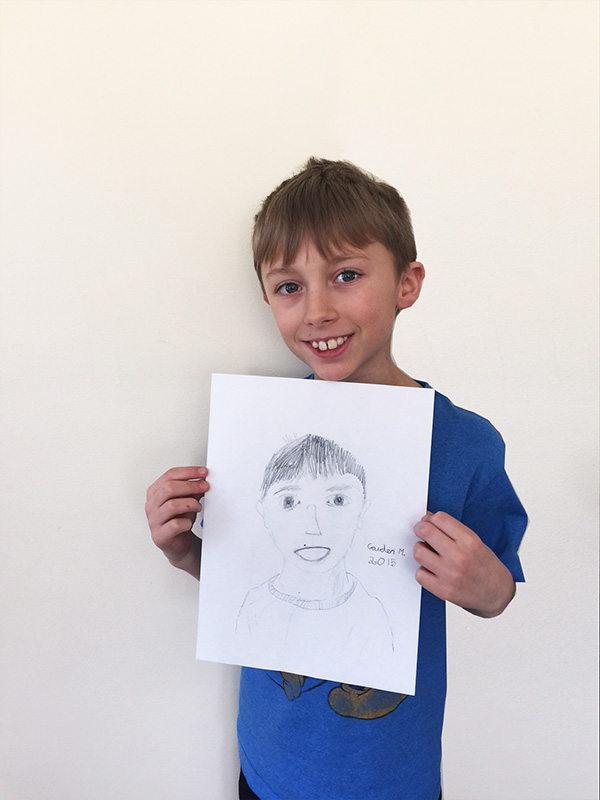
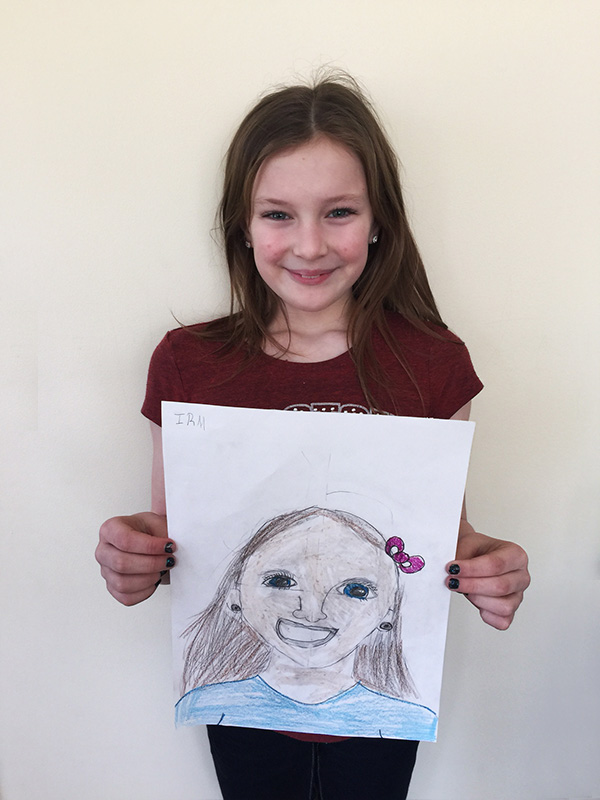
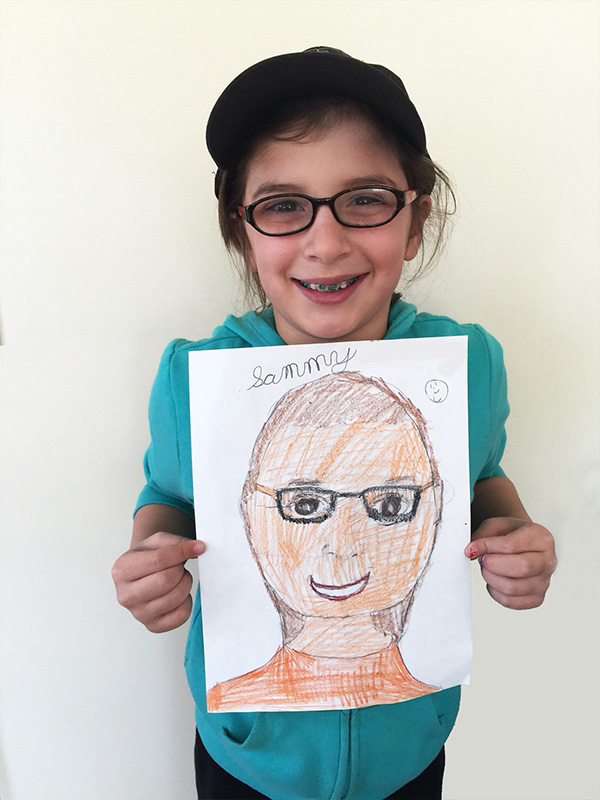
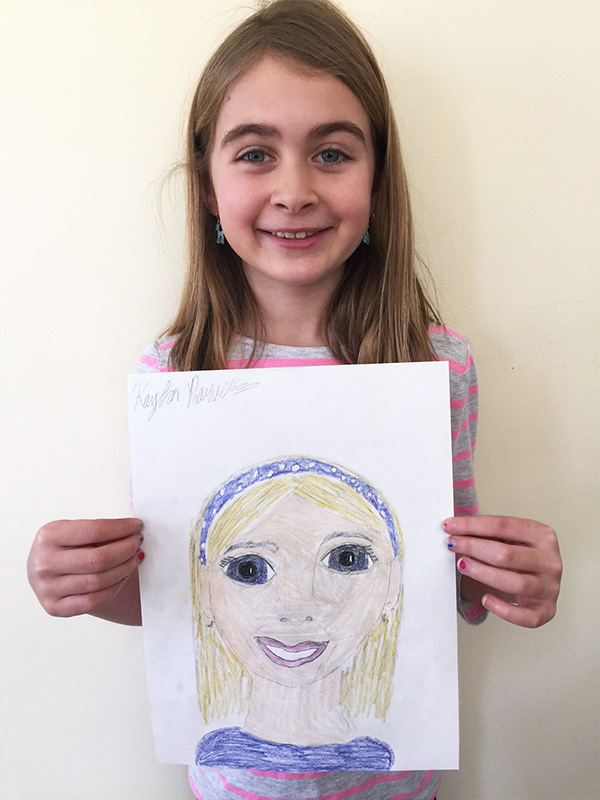
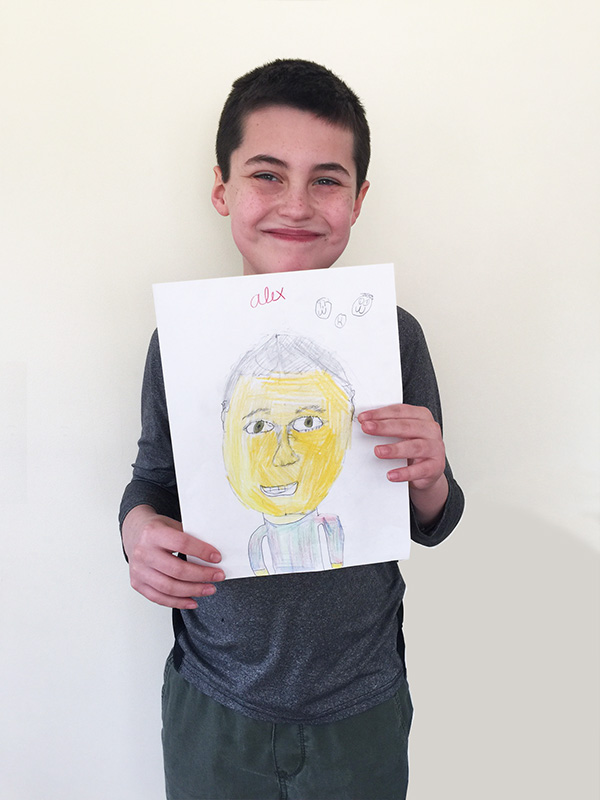
Recently, a group of budding artists gathered to learn how to draw a self-portrait using basic drawing concepts. The artists either used a photo of themselves to create their sketch from or used a standing mirror, then we completed the following steps:
- To create a sketch that is proportional to their actual faces, our artists used their left hand to determine how large to make their heads on the paper. We placed our thumbs on our chins and stretched our middle fingers to our foreheads. We then placed our hands in this position on a piece of paper. We drew a dot above our middle finger and below our thumb. These 2 dots represented the height of our faces. From there, we connected the dots by drawing a large circle on the paper (lightly).
- Secondly, we divided our face into sections. We drew a vertical line from the top of the circle to the bottom, as well as a horizontal line across the middle. This horizontal line represented where we would draw our eyes. Many of the children were surprised to learn that our eyes are actually in the middle of our face. But they are! Not only that, but the width between our eyes is (in general) the same width as our eyes. Using where the vertical and horizontal lines met as a guide, the children then drew almond shaped eyes (or “footballs” as one child proclaimed) along the middle line, being sure to leave the correct amount of space between the two.
- Drawing the eyes is fun. We discussed how the eye is made up of an iris (the color of our eye) and a pupil (the dark circle inside of our iris). We also briefly discussed reflected light and how adding it to the eye gives the eye more depth. To add reflected light, the children drew a small white box within the pupil. Then they colored in the pupil so it was dark around the small white box. Some of the children added eyelashes, as well as an eyelid to partially cover the eye. Finally, eyebrows following the same shape of the eye were added.
- Next came the nose which ended up being the toughest part of the exercise. Noses are difficult to draw because they protrude from our face, and it can be hard to create something that looks three-dimensional. To begin, we added another line that fell in between the eye line and the chin. This line represented where the bottom of our nose would be. On a very basic level, children can draw a simple curved line to represent a nose, but the children in this group tried their best to create a more detailed nose. A nose includes nostrils, as well as small flares on either side, and a bridge curving in as it travels upwards to the eyes.
- Once our noses were done, we drew a final horizontal line that fell between the bottom of our nose and our chin. This line represented where our mouth would be. Drawing mouths seemed to be one of the more fun parts of this activity. I loved how the children all drew very large smiles! (Tip: I always suggest against drawing teeth unless you really know what you’re doing.)
- Once we had our features, it was time to define the shape of our face. We used a heavier hand to sketch the shape: our cheeks, jawline, and chin. Ears were added at this point too. Our ears fall between our eyes and our nose. Our necks begin a little beneath our ears and curve inward as we moved down to our shoulders.
- Then came the final step: hair. We began by drawing our hair as a shape around our faces. Once the shape of the hair was in place, we added more details such as wispy bangs, waves, or curls.
- Once we had our self-portraits complete, we erased the left over lines that we’d used as guides. Some of the children chose to color their artwork while others left theirs in pencil. And we all finished, of course, by signing our masterpieces. You can see all of the amazing art that was created under “The Artists” section below!
The Artists
Was this article helpful or informative? Please Like or Share. Thank you!
[fb_button]
